Deleting a file on Mac is never risky, and any deleted files will reside on Mac Trash. Any deleted files on Mac would be moved to the Trash folder; the user can then decide whether to restore the deleted files or erase them permanently. While emptying the Trash, you might have encountered a few files that would not be deleted.
This could be because the files might be used with other applications, corrupted files, or other reasons. No matter what the reason is, below are a few ways to help you empty the Trash. By following the steps mentioned in the article below, you will learn how to empty Trash on a Mac.

How to Empty Trash on Mac?
- Check If the File is Still in Use
- Restart the Mac OS
- Restart Mac on Safe Mode
- Empty the Locked Files
- Repair the disk before emptying the Trash
- Use the Option key to empty the Trash
- Bypassing the Bin
- Empty Trash Bin on Mac Using Terminal
Why can't I empty the Trash on Mac?
- Application in Use - When any application is actively using the file, you will be unable to delete it.
- Corruption of the file - Due to corruption or virus intrusion, the macOS might not allow the user to delete or empty the Trash on the Mac
- The file is locked - When the user has locked the file with a password protection feature, you will be unable to delete the Trash on the Mac
Nevertheless, by following the methods below, you will effortlessly be able to delete the desired Trash on your macOS
While emptying the Trash on a Mac, if you accidentally delete or lose your important data from your macOS, you will need a reliable data recovery utility like Remo Recover Mac to recover them easily! However, data loss is an unpredictable scenario; with the help of Remo Recover Mac, your data can be restored to the original location deletion
How Do I Manually Empty Trash on Mac?
In some situations, one feels there is a need to empty Trash on Mac. This may be because one needs to get rid of unwanted files or maybe if his Mac Trash is full. Whatever the reason, one can easily follow the steps below to empty his Trash on Mac.
1: Check if the File is Still in Use
When emptying the Trash, if you get a ‘File in Use’ error, try to close the app using the file. In such cases, try closing all the running apps running in the background. This will ensure that any app is not using the file. Now go back to Trash and try emptying it. If it still doesn’t, move to the next method.
2: Restart Mac OS When Can't Empty Trash
The reason why Trash won't empty on your Mac may be due to something that has been deleted, but the file still has pending action intact. It can be some file or part of the application. To fix it, you need to terminate every active process on your Mac. A simple restart of your Mac operating system should help you out.
- Go to the Apple icon in the top menu.
- Click on Restart to reboot your Mac.
- This way, it will force close any apps that are still running. Now try to empty the Trash.
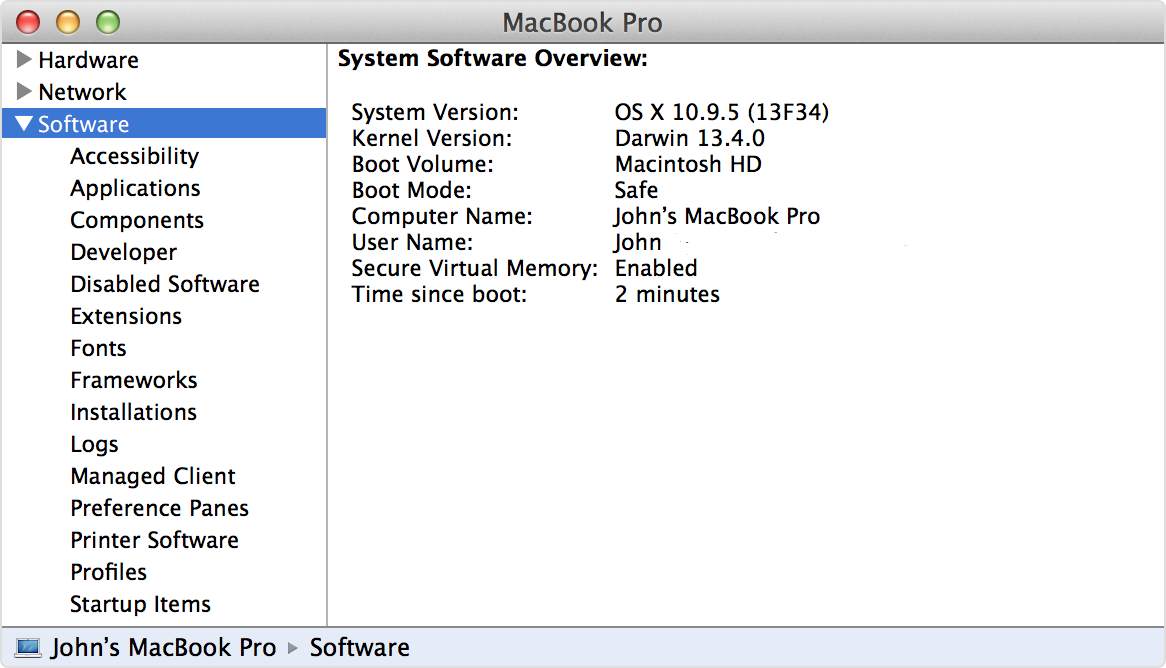
3: Restart Mac on Safe Mode
The file you are trying to delete might be used by another application, making it difficult for you to empty Trash. Reboot the Mac in Safe Mode and clear Trash as shown below
- Reboot your Mac and press and hold the Shift key; as you do so, you will find the Apple logo appear on the screen.
- Once the login screen appears, release the shift key and login to the computer.

- After booting into the Safe Mode, open Trash and click on Empty.
Note: There are situations when you are unable to open trash on Mac, or you feel there is a need to uninstall or delete applications from Mac. One can refer to these articles by clicking on the above-mentioned link.
4: Empty the Locked Trash
This is another method to empty the Trash. Sometimes, the files may be locked hence, you are unable to empty the Trash bin. Hold down the Option key, go to Finder, then empty Trash. This should help you clean the Trash as the Option key invokes the Mac ‘Force Empty’ feature to bypass all the locked files and remove every other item residing in your Trash.
Note: Files deleted from Trash using this method cannot be restored again. So, be careful about what files you are removing. In case you want to restore files deleted from Trash on Mac, you can use professional software like Remo Recover Mac. The software scans and retrieves back all your files from Mac Trash on any macOS like Big Sur, Catalina, Mojave, High Sierra, etc.
5: Repair the Disk Before Emptying the Trash
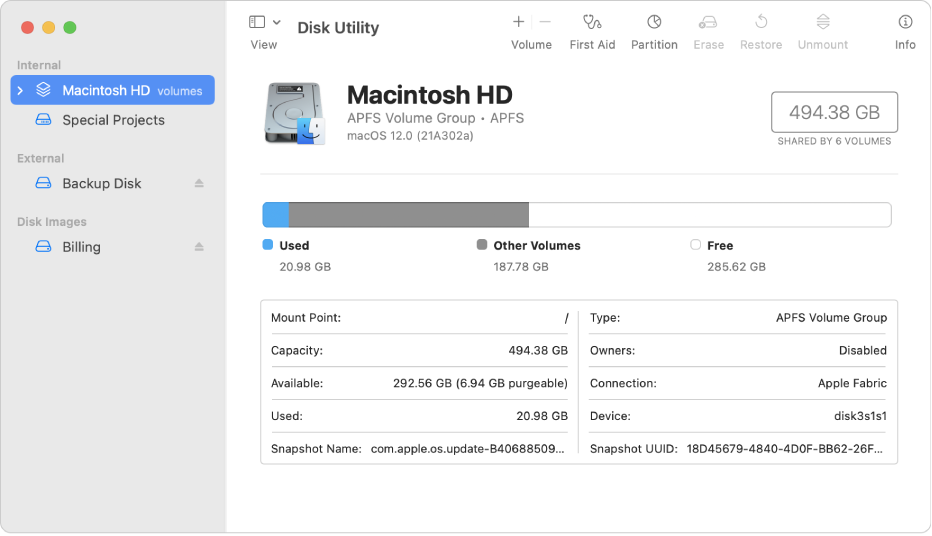
If you are unable to empty Trash on Mac, there can be the possibility of corruption on the disk that might be preventing the deletion. Try the below steps to repair the disk and then delete the files.
- Restart Mac and hold Command+R as the system starts.
- In the macOS Utilities window, select Disk Utility and click on Continue.

- Select the disk from which the files need to be deleted and then click on First Aid to start the repair process.
- After completion of the repair process, restart your Mac and empty the Trash.
6: Use the Option key to Empty the Trash
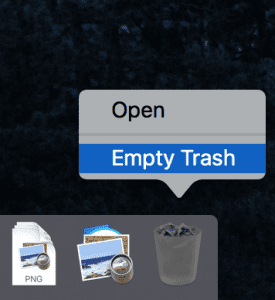
If you can’t open the Trash to delete everything inside, there is a way to do it from the Dock. You can initiate options and clear the Trash without opening the folder using the Option key.
Here’s how to do that:
- Find the Trash icon in Dock.
- Hold the Option key (or Option-Shift) and double-click the Trash icon.
- Click Empty Bin.
- Confirm when the pop-up window appears.
- Hope that did help to empty the Trash. If not, let’s move on to the next solution.
7: Remove Files Bypassing Trash
Command + Option + Delete keys. Pressing the CMD+Option+Delete keys will permanently delete the files, bypassing the recycle bin.
Caution: there’s no way back! Use Command + Option + Delete if you want to remove a file completely. It won't go to Trash, so you won't be able to restore it later.
8: Empty Trash Bin on Mac Using Terminal
Use this method only when all the above-mentioned fixes fail. This process will delete all the locked files without any alert message. So be careful with the command and do exactly what is given below:
sudo rm -rf ~/.Trash/*
This was used earlier, but it does not work on Sierra or El Capitan. If your OS X is 10.10 or above, follow the below-mentioned steps.
-
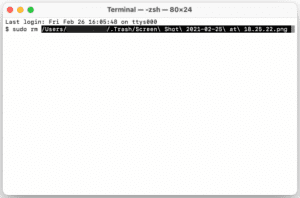
- Open Terminal on your Mac.

- Now type this command followed by a space, and DO NOT PRESS ENTER AFTERWARD.
- sudo rm –R
- Please note that the command will not work if you don’t add space after R.
- Control-click Trash from the Doc.
- Select all the files in the Trash Bin
- Drag and Drop the files into the Terminal window. This will create the path to each file to remove the command you entered earlier.
- Now press Enter.
- Enter your Admin password to continue the process. The password you enter will not be visible. It appears as if nothing has changed.
- Now press Enter again.
- Open Terminal on your Mac.
The deleting process will start and take a couple of minutes or more, depending on the size of the file.
Using the methods mentioned above, you can permanently empty your Trash on Mac. But what if you unintentionally delete important files from Mac Trash? Do you know that you can easily recover deleted files from Trash using a professional data recovery tool that can help you retrieve accidentally deleted files from Mac?
Remo Mac File Recovery Tool is one such tool that comes in handy when you try to retrieve accidentally deleted files. This tool helps you to recover lost or accidentally deleted files like photos, videos, .doc or .docx, etc., in just a few simple clicks. Download the software now!!
Conclusion
Now that you know how to empty your Trash on Mac from the locked files and folders, which wouldn’t have been deleted just like that. Remember that files deleted using Terminal will not be restored, and be extra cautious while selecting the files from Trash. If you need any help in recovering files from Trash or otherwise, you can refer to the above-mentioned link.
Thanks a lot. This is so correct and elaborate. Was able to delete 80000 files in a minute for which i was struggling for last 02 days
wow that was excellent