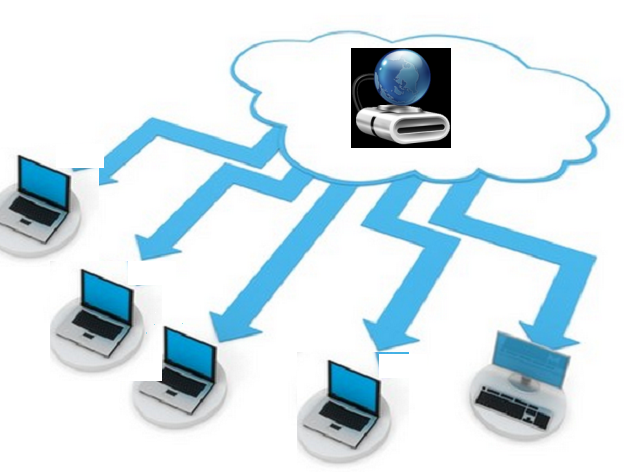
Network drive is nothing but a storage device located on a server which can be accessed by multiple devices. It is a shared folder, which you can access from your File Explorer like other hard drives exist on your computer. To map a external drive to a network you need to create a shortcut of shared folder to access resource available on it. This shortcut creation procedure is named as mapping a network drive. Once you create a shortcut, it will show up under This PC.
How to Map a Network Drive on Windows 10?
There are different methods to Map Network Drive on Windows 10. Below we have listed 2 quick ways to map network drive on Windows 10. You can either use Map Network Drive wizard or command prompt to map a network drive.
Method #1: Using Map Network Drive wizard
- In Windows 10 computer, click on File Explorer and select This PC
- Click on Computer tab and press Map Network Drive
- Select Map Network Drive from context menu
- In the Map Network Drive wizard, specify the drive letter for your network folder
- Then, click on Browse button to select the folder you want to map and press OK
- After selecting the folder, click on Finish button
You can select Reconnect at sign-in check box, if you want to reconnect the folder when you sign in. To connect this network location using different credentials, select Connect using different credentials check box and when asked, enter necessary permits. Now go to This PC and under Network Location, you will be able to see the drive. If you want to disconnect it, right click on that and select Disconnect option.
NOTE: when doing these steps, the drive that is connecting as a network drive will be act as an external hardd rive. Anyhow, make you keep complete backup of the data on both drives. As ther are chances of losing partitions on
Method #2: Using Command Prompt
- Open Command Prompt and type below mentioned command to map a network drive which is not password protected
net use z: \\networkShare\files
- To create a network drive with password protection, type following command in Command Prompt
net use z: \\networkShare\files /user:userName PaZZw0rd
Specify required username and password. These two commands will map a network drive. But, after restarting the computer, they will be removed.
- If you want to map a network drive which is connected even after restarting, then type following command-
net use z: \\networkShare\files /P:yes
Here we have shown you quick ways to map network drive on Windows 10. In other Windows OS, similar procedure should be carried out. But, procedure to access Map Network Drive wizard may vary.
Make sure you follow these steps carefully and commands used are correct. Any small mistake can make your drive – internal drive and external drive (network drive) inaccessible. Losing data from this network drive may halt not only your work, even others who are using the shared network drive. Remo Hard Drive Recovery software to recover lost partitions from your external drive that is shared on a network and also internal drive in few steps. However, why take such risk! You can avoid such issues by taking regular backups. Also, make sure you have an updated backup copy before performing any major actions like mapping the external drive to network, formatting etc.