Anti-virus, without a doubt, is an essential necessity in your system for various issues like evading virus intrusion, cyber security, or even verifying the security of your online downloads. However, in certain unforeseen cases, your antivirus might mark your valuable files as a threat to your operating system and delete them.
If you are one such user who has faced the above-mentioned scenario, this article is for you. In this guide, you will learn hassle-free and effective solutions on how to recover deleted files by Avast antivirus. Before moving ahead, let us understand more about Avast antivirus, how it works, and why Avast deletes some of your files.
What is Avast Antivirus?
Avast Antivirus is a well-known internet and cyber security application developed by Avast Software. The tool provides protection against any virus entities or cyber threats from the internet platform. Avast users can be segregated into two ways, Users who purchase Avast antivirus and users who have inbuilt Avast antivirus by their respective OS.
Why Avast antivirus is preferred over Microsoft Windows Defender?
Though Microsoft Windows Defender does a fair job, certain users prefer Avast over it due to its limitation. Such as;
- Low Detection of Spyware or Malware Online
- Manual Upgradation process
- Unavailability of unified alerts
- Slow scanning process
Comparatively, Avast holds the upper hand in the above-mentioned criteria.
With over 435 million active users across the globe and a solid 4.3 score by Forbes Advisor. Undoubtedly Avast is one of the best Antivirus utilities out there.
Does Avast automatically Delete Infected or Suspicious Files?
When the antivirus encounters a potential virus malware file, it automatically puts it in the so-called Virus Chest after detecting it as a suspicious file, which stops the virus intrusion. In some cases, Avast deletes files without asking permission.
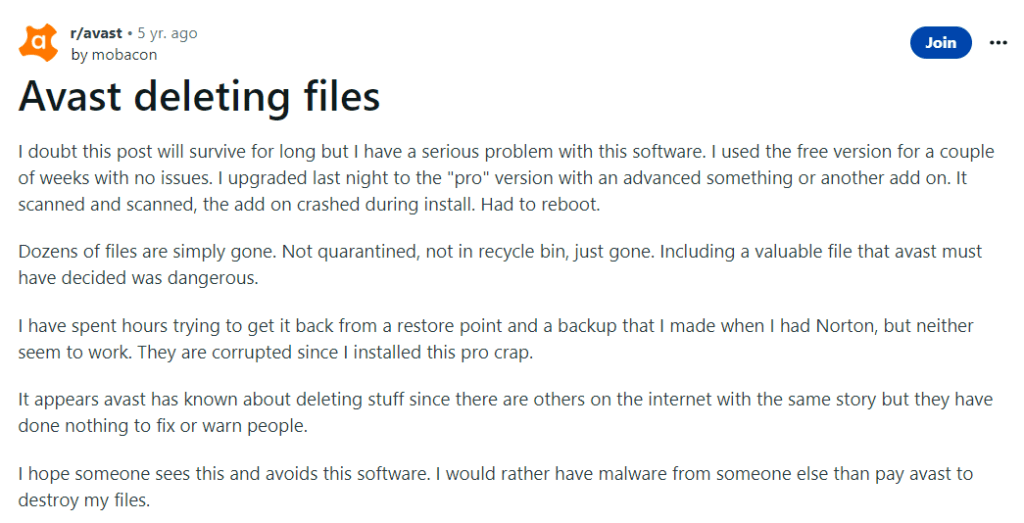
With Avast’s false-positive rate being relatively low, it’s not unheard of the tool to make mistakes sometimes and move legitimate files to Virus Chest. In such cases, you can restore files from the Avast virus chest.
How to Recover Files Deleted By Avast Antivirus?
The answer depends on the situation; if the files are hidden or moved to the Chest, you can easily restore them from the Avast chest. But if the Antivirus tool has permanently deleted your files, then you have to make use of a reliable Avast recovery software.
- Recover Files Deleted by Avast antivirus using Virus Chest
- Restore the Avast Deleted files using a File Recovery utility
Method 1: Restore Avast-Deleted Files from Virus Chest
The Avast check, also known as the Virus Chest. It is a quarantine area where malicious or suspected files are moved in order to prevent them from causing harm to your system.
However, the Chest allows you to view the quarantined files, review them, and take an appropriate call on whether to restore them or delete them permanently for your Windows system.
Steps to Restore Files from the Avast Virus Chest
- Right-click the Avast icon.
- Click on the Virus Chest.
- Click the three horizontal dots next to the file you want to undelete.
- Select either Restore or Restore and Add Exception. By choosing the former option, you stop Avast from deleting the file again.
- Scan the recovered file using at least one more anti-malware solution.
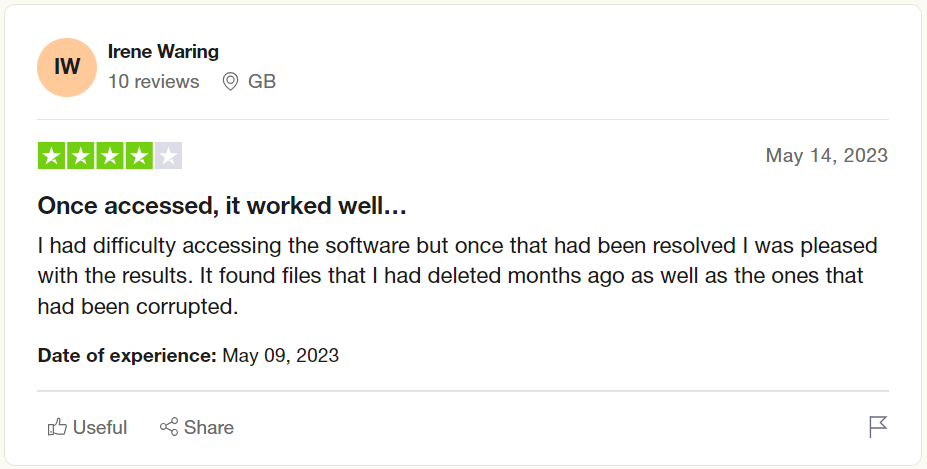
I am sure you have safely restored files from the Virus Chest of Avast. If the above-mentioned method has not worked well for you to recover files deleted by viruses or antivirus software, then you will need a reliable data recovery tool like Remo to restore all your deleted files as well as files lost from the Windows system.
Method 2: Recover Deleted Avast files using Remo File Recovery
Remo File Recovery Software is built with an advanced data recovery algorithm that can recognize almost any file type and recover it in no time. With an option to specify the file format you are looking to recover, there is no way you are going to miss out on recovering your deleted or lost files. The tool can help you recover files like photos, videos, documents, and many more file types with just a few easy clicks.
Steps to Recover Files that Avast Antivirus Permanently Deletes
Step 1: Download and install Remo Recover on your computer and follow the steps below to recover lost or deleted files by Avast antivirus.
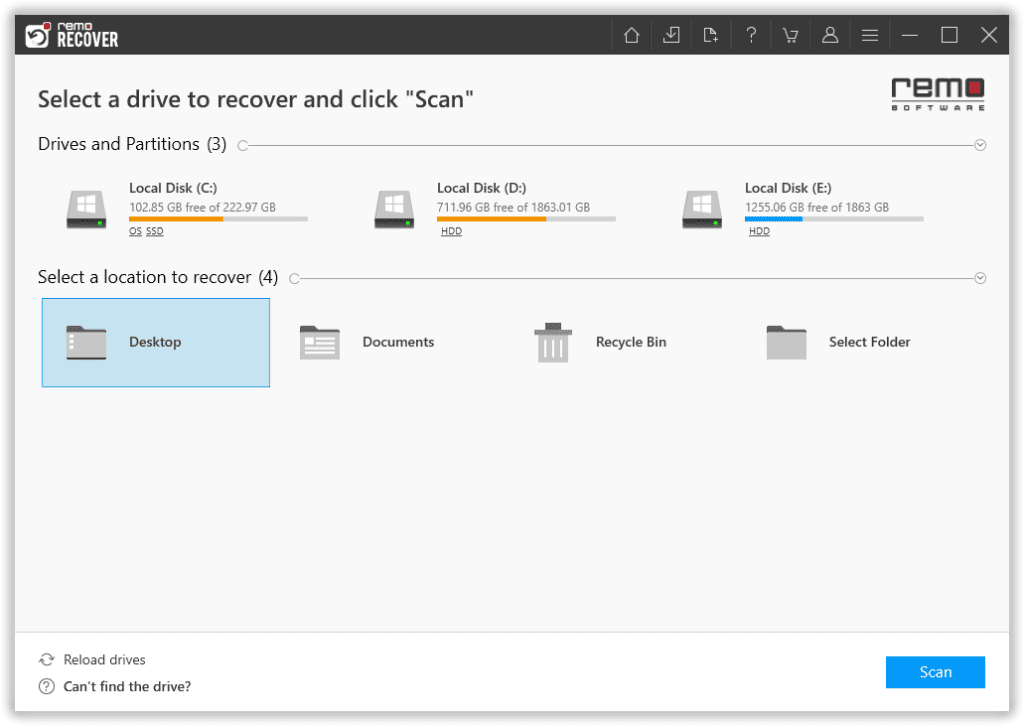
Step 2: From the main screen, select the drive from where you want to restore deleted files. Click on the Scan option to initiate the scanning process.
Step 3: Once the quick scan is completed, it directly takes to Deep Scan, where the tool digs deeper into the selected drive to recover lost or missing files and folders. Click on the Dynamic Recovery View to view the Avast deleted file recovery process.
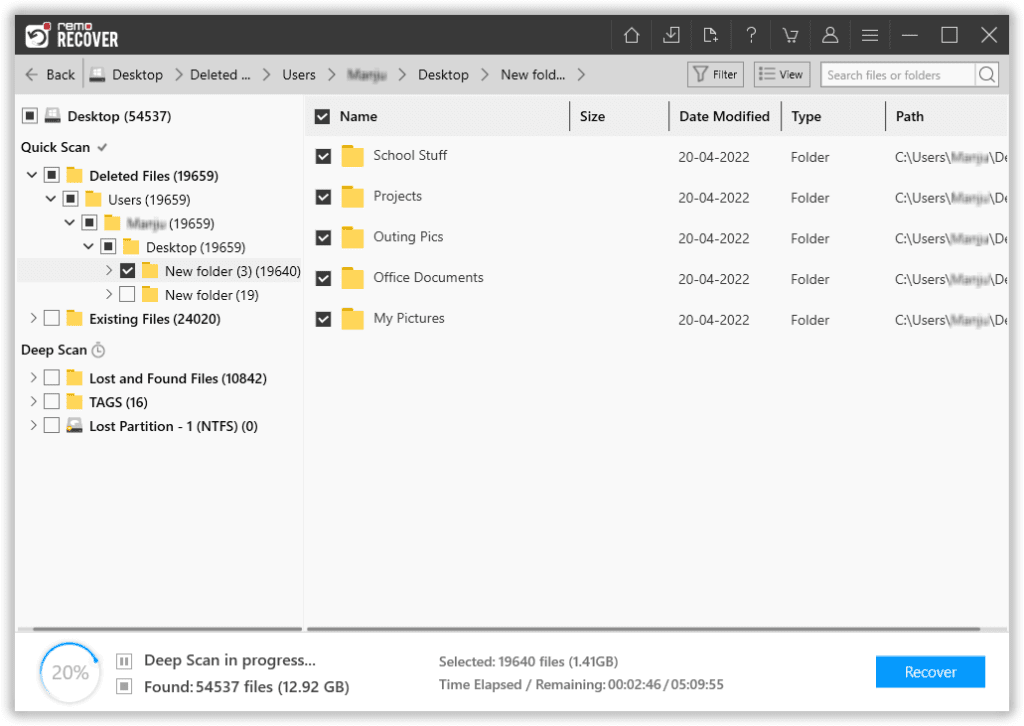
Step 4: Preview the recovered files that were earlier deleted by Avast by double-clicking on them.
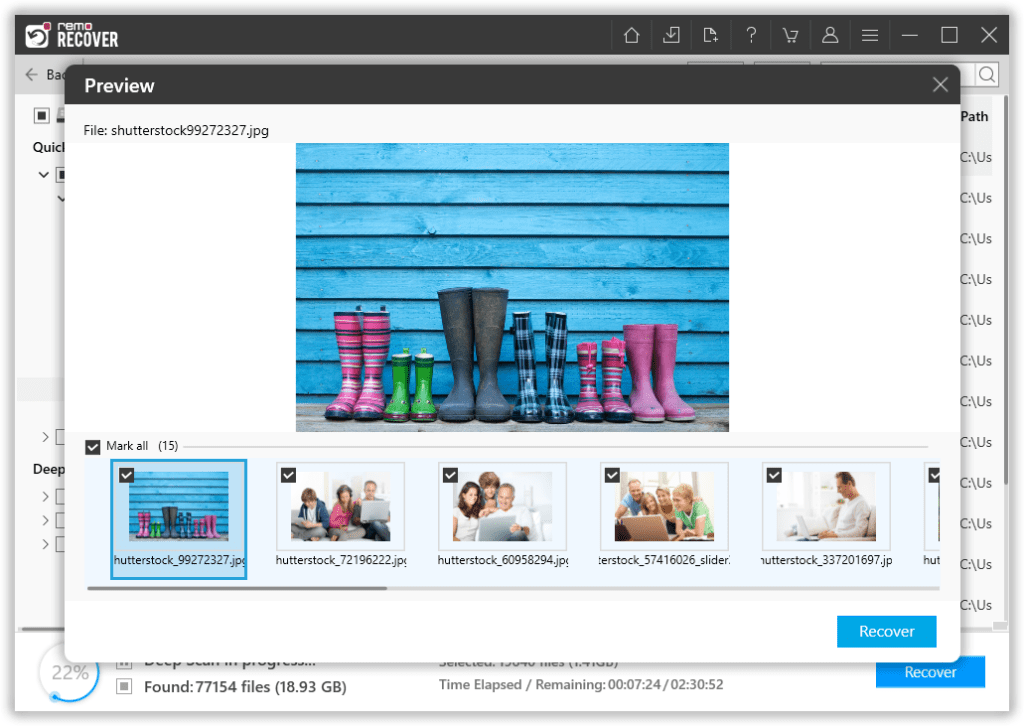
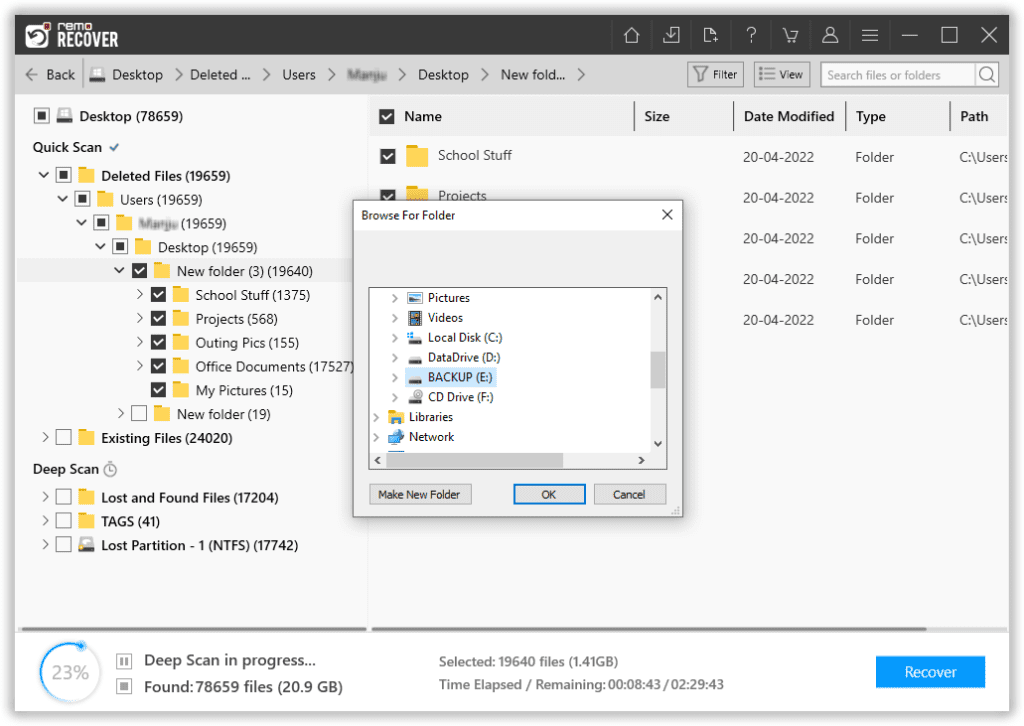
Step 5: Select the files which you want to restore and click on the Recover option to get back the recovered files that were earlier removed by Avast to the desired location.
How to Stop Avast Antivirus From Deleting Files Without Asking?
Avast might delete all your important files without your consent, considering the source file to be intruded on by a virus or malware. Hence it is always safe to stop Avast from deleting your valuable files without asking.
- Launch Avast and go to Settings.
- Navigate to Protection > Virus Scans.
- Scroll all the way to the bottom and click View exceptions
- Click on Add Exception.
- Add the file path, folder path, or website domain to exclude and click Add Exception again.
Note: If you have lost or deleted files from the User folder or Downloads folder, then you can follow the solutions explained in this article to recover files deleted from the Downloads folder.
Conclusion:
The article summarizes how to recover files deleted by Avast antivirus. In this article, we have given you 2 effective methods to recover deleted files by the antivirus. If the Avast Chest file recovery does not work well for you, Remo Recover can effortlessly resolve your recovery concerns. If you have further queries regarding the article, make use of the comment section below.